Quick Start Guide (2-minute tutorial)
To get that perfect picture from your head onto the page, here's a quick guide.
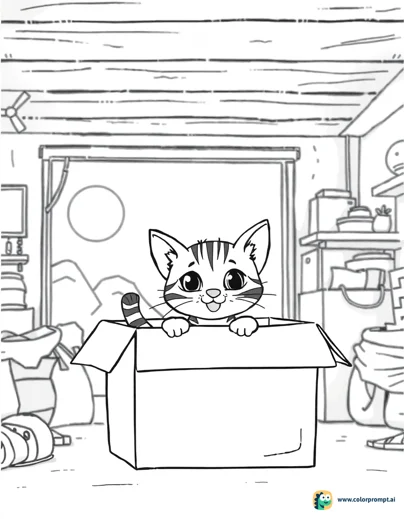
Start with Your Subject: Be specific and use descriptive adjectives to create a clear picture. For example: "A curious, striped kitten"
Add an Action: What is it doing in the scene? Building on our example: "A curious, striped kitten is peeking out of a cardboard box."
Set the Scene & Mood: Where is your subject and what is the vibe? Use words like happy, sunny, cold, and such. The final prompt is: "A curious, striped kitten is peeking out of a cardboard box in a messy garage on a sunny, happy day." 👇
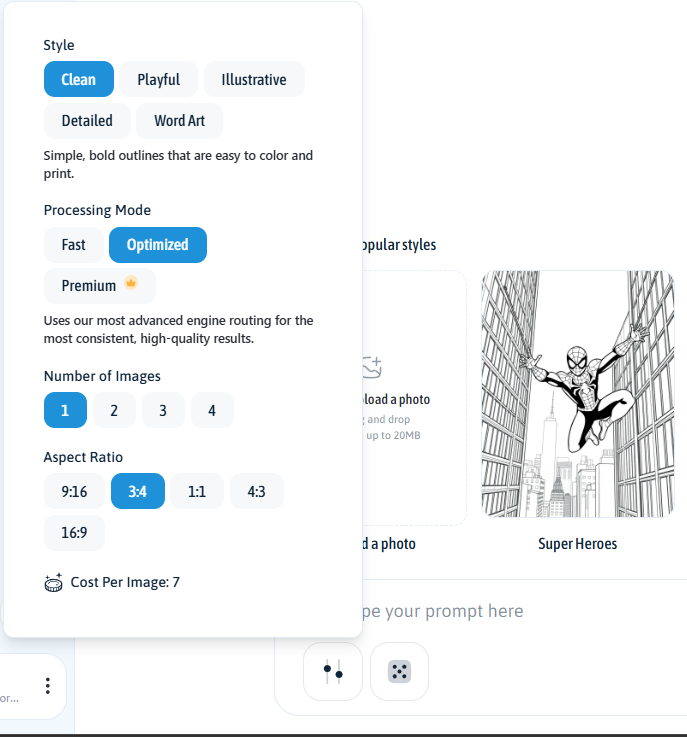
Before you create your art, don't forget to choose your Style, Processing Mode, and aspect ratio by clicking the settings icon under the text bar.
This makes it super easy to ensure your art prints perfectly on any kind of paper.
Pro tip: US Letter portrait paper uses the 3:4 aspect ratio. 🤓
Styles
Choose the overall look and feel of your coloring page:
Clean: Simple outlines that are easy to color and print. Your go-to for classic coloring pages.
Playful: Friendly characters and rounded shapes with a fun, lighthearted feel.
Illustrative: More expressive drawings with added depth and visual interest.
Detailed: Denser line work with more intricate elements for advanced coloring.
Word Art: Creative lettering designs where words become the artwork.
Processing Modes
Choose how the engine processes your prompt:
Fast: Prioritizes speed and lower cost. Best for quick drafts or simple prompts.
Optimized: Uses our most advanced engine routing for the most consistent, high-quality results.
Premium 👑: Our most advanced model for superior spelling, detail accuracy, and prompt precision.
Here's a heads-up: Different combinations of Styles and Processing Modes will change your "Cost per Image," so you can easily choose the best setup for you in the menu.
Your creations are now ready for adventure! ✨